Color Theme and Header
From yesterday to today I was busy adjusting the color theme and header image of the website. So far, the basic configuration of my website has come to an end. This article records the work of these two days.
Color Theme
Minimal Mistakes offer some color themes. Since it is the theme itself of Jekyll, the color themes of Minimal Mistakes is called “skins”. There are several skins embedded in Minimal Mistakes. But I don’t think any of them are suitable for my site. So I create a SCSS file at /_sass/minimal-mistakes/skins/_dark.scss. This file will overwrite the dark skin of Minimal Mistakes.
The original dark skin is very simple and consists of 3 basic color: black backend, white frontend and prime color. I adjusted the brightness of the foreground and background to make the page darker and chose #7939b4 as base to color grading. This is a purple between Tyrian Purple and Royal Purple (refer to Wikipedia: Shades of purple). I personally think it’s closer to Royal Purpule but a little more saturated and warm.
The original dark skin uses prime color mixed with white or black to generate the various colors of the website. The color obtained by this method is somewhat biased. Therefore, I generated a single color scheme directly in Color Hexa instead of the original mixing method.
Then I used Base16 Dracula Shceme directly for the code highlighting part.
Header Image
At first I had no intention of adding a header image to the website pages. However, after completing the color theme, I felt that the layout of Miminal Mistakes was too monotonous, so I decided to add a header image.
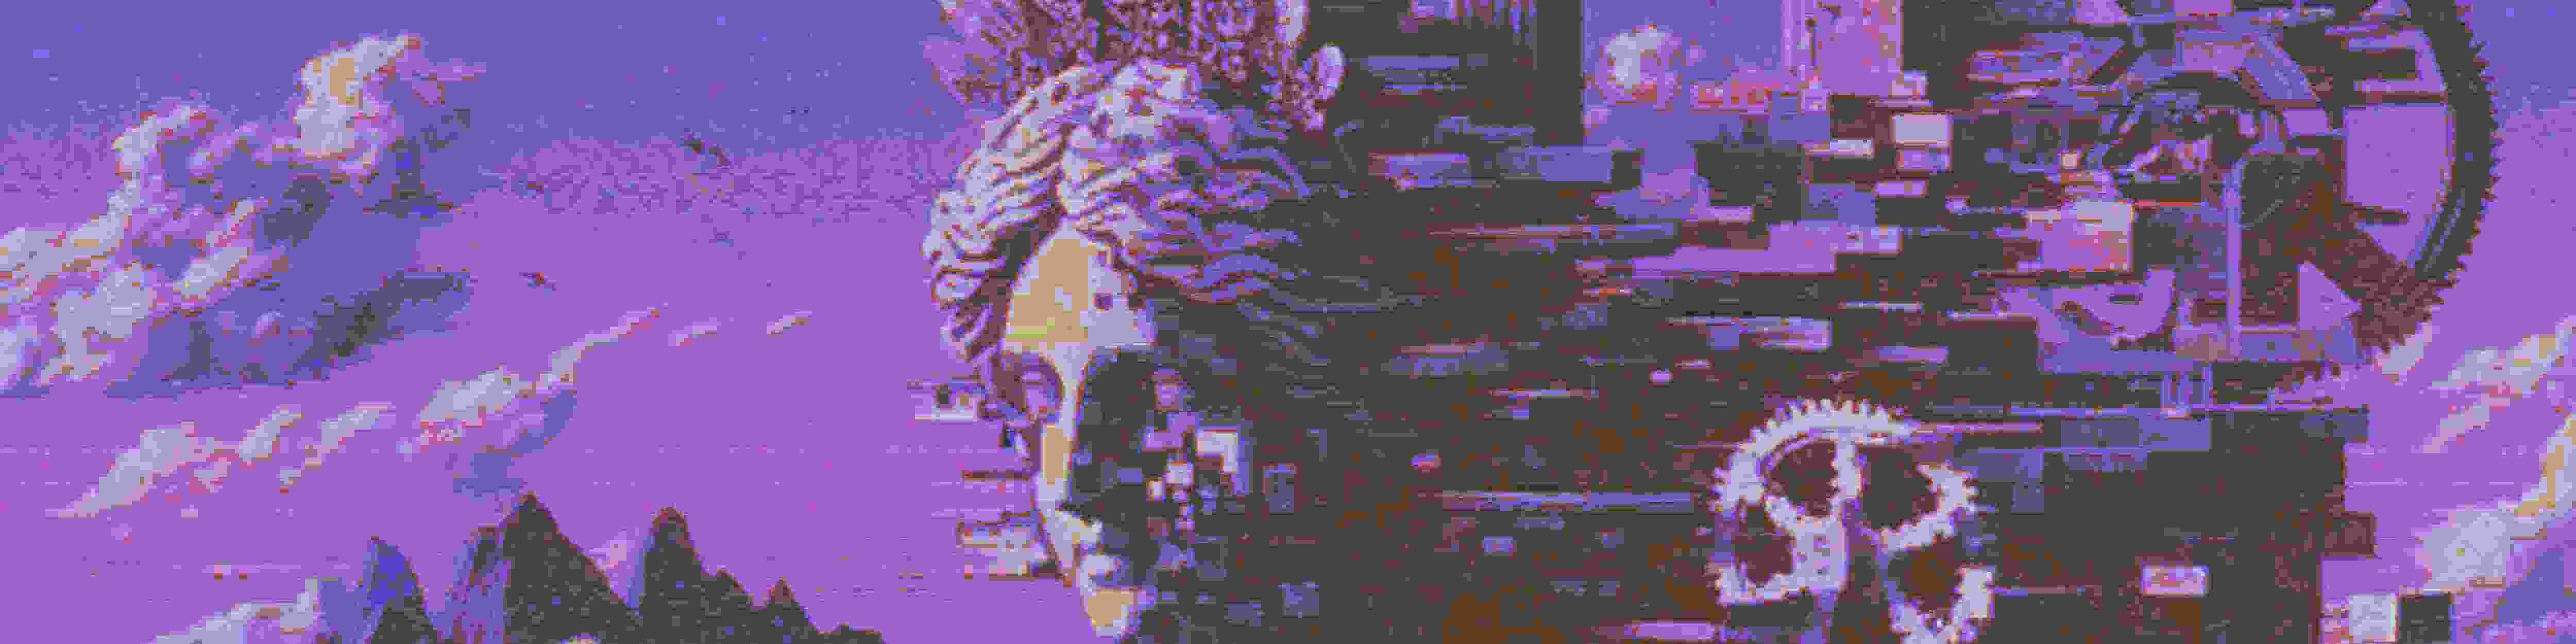
This spent a lot of my time. I hope the header image will roughly match the color theme of my website and be as narrow as possible to avoid affecting the text reading experience. In terms of content, I hope it echoes my homepage motto, while the whole picture doesn’t feel too cliché.
After some fruitless searches, I started trying to use Copilot’s DALL·E 3 to generate images. This process took quite a long time, I probably adjusted the prompt words dozens of times, and generated hundreds of images. I generated too many images to that Copilot is still refusing to provide me with more image generation services for now.
I chose one from generated images and started my adjustment work. I used another online AI model (Bigjpg) to super-resolve the generated image from original size 1024×1024 to 4096×4096. I then added noise to the image and lowered the encoding quality to create a vaporwave-like feel. I then cropped and resize the image into narrow strips, and began awkwardly color adjusting. Although there is still some color difference in the final product, it is pretty good for me at this moment.
In the process, I incidentally selected an image to be my avatar on my website. There is an obvious flaw in this image at the beginning. One character’s hand is generated errorly. Since I couldn’t afford an online photo eraser tool, I had to remove that area by hand coloring and blurring. Fortunately, the final result was pretty good.
After all this I add these code to the home page and posts Front Matter defaults:
header:
  image: /assets/images/header.jpg
And set up my avatar in _config.yml:
avatar: /assets/images/avatard2.jpg